Guides
How to Charge an Apple Pencil of First & Second Generation
Explore how to charge an Apple Pencil for both the first and second gen of Apple Pencil. From widgets to magnetic connections, power up with ease.
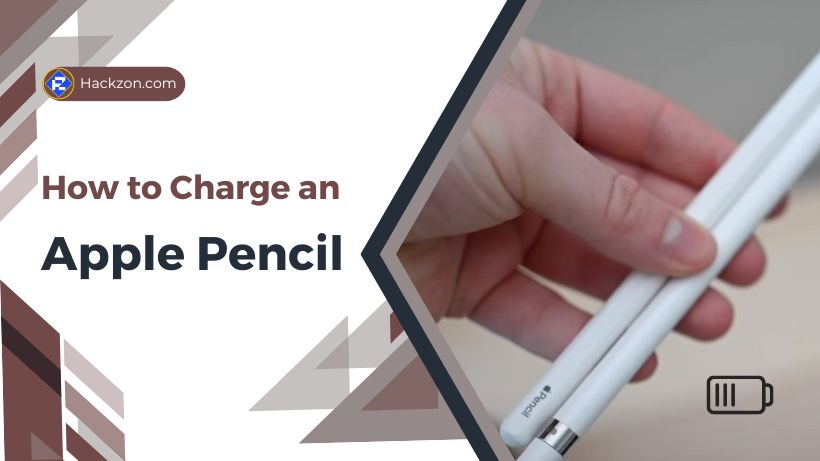
If you’re a beginner, you might be wondering how to charge an Apple Pencil and how to maintain your Apple Pencil charged and ready to bring your ideas to life.
Hackzon is about to go into how to charge an Apple Pencil, demystifying the process for both the first and second versions.
So, let’s learn how to empower your digital quill and guarantee you’re always ready to doodle, write, and create.
Are you ready to illuminate your canvas? Let’s get started!
How to Charge an Apple Pencil?
Whether using the original first-gen wonder or the sleeker second-gen masterpiece, keeping your artistic endeavors charged and ready has never been easier.
This detailed post will untangle the intricacies of charging these dynamic instruments.
From the first generation’s subtleties to the second generation’s practical approaches, you’ll learn all you need to know to keep your Apple Pencil in tip-top shape.
Charging the Apple Pencil varies slightly across generations. It is because Apple improved the process in its second iteration.
Also, if you want to explore more apps on your device but the Appstore limits you, then you can move toward Scarlet iOS, it help you to get apps that are not available in Appstore.
Let’s take a look at the two variations!!
How to Charge an Apple Pencil First-gen?
1. Remove the Pencil Cap
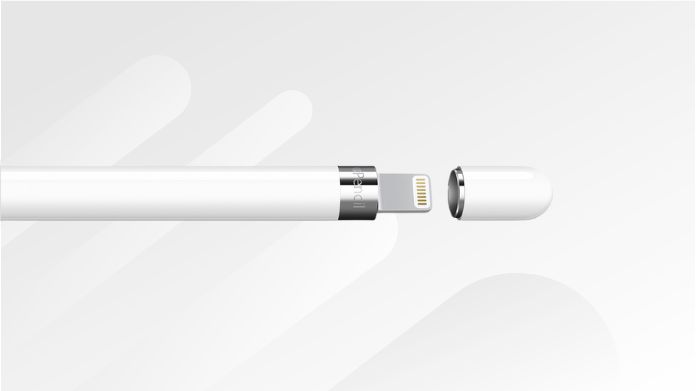
A magnetic silver cover conceals the vital Lightning connector for pairing and charging at the tip of the Apple Pencil’s rounded end.
Remove the cap to begin pairing, or put it into the charging port on your iPad. For charging, the procedure stays the same.
The first-generation Apple Pencil may still be utilized using a USB-C to the Lightning converter and a USB-C to USB-C charging connection on 10th-generation iPads with USB-C.
2. Insert the Lightning Connector into the Port and Tap Pair
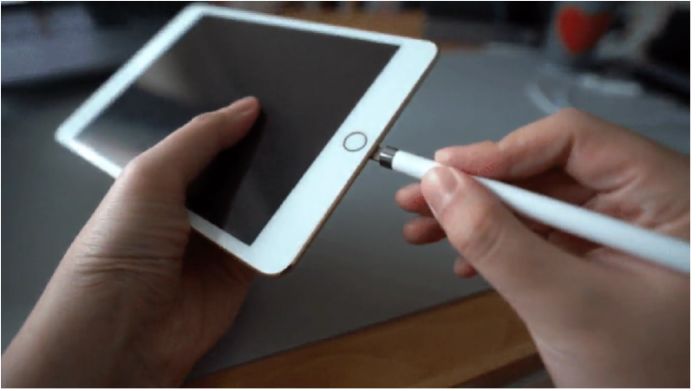
Plug the Apple Pencil’s Lightning connector into the iPad/iPhone port to begin pairing.
A “Pair” button will appear on the screen, allowing you to connect.
The Apple Pencil remains connected to the tablet after the first setup unless the iPad is factory reset, eliminating the need for reconfiguration.
How to Charge an Apple Pencil Second-gen?
1. Turn on Bluetooth in the Settings
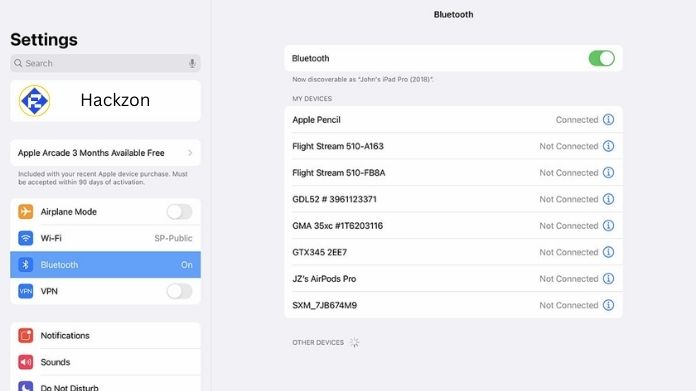
Ensure your iPad’s Bluetooth is turned on before connecting the 2nd-Gen Apple Pencil.
To utilize the Bluetooth toggle, go to Settings > Bluetooth or slide down on the upper-right home screen corner.
2. Attach the Pencil to the iPad’s Magnetic Side.
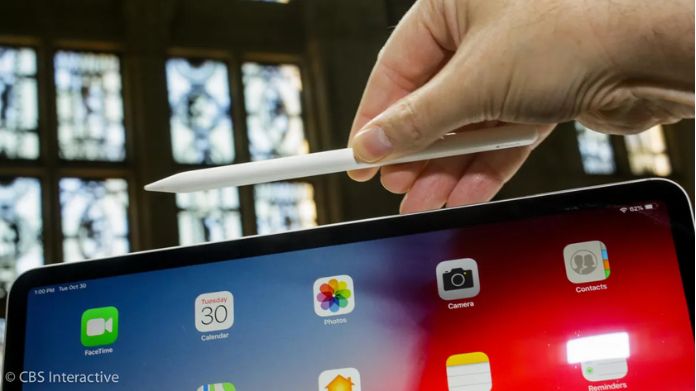
Effortlessly link the Apple Pencil to the right side of your iPad in the portrait position, akin to inserting a pen into the spiral of a notebook.
Once connected, the iPad suggests pairing and provides brief writing guidance.
Charging is the same as before—clip the 2nd Gen Pencil onto the magnetic strip of the iPad, and it will charge as long as the iPad has sufficient battery.
How Long Does It Take to Charge an Apple Pencil?
Apple Pencils charge quickly, with a full charge taking roughly 30 minutes and a rapid charge taking 15 seconds to give 30 minutes of usage.
The second-generation Apple Pencil has even quicker charging speeds, taking only around 15 minutes. Notably, a 1-minute charge delivers about 2 hours of use.
It is not required to wait for a complete 100% charge; a few minutes will suffice. Charging periods often range between 15 and 30 minutes.
The “Batteries” widget, accessible by swiping left from the home or lock screen, makes it simple to check the battery state of the Apple Pencil.
This widget is usually installed automatically when attaching the Apple Pencil.
However, it may be added manually via your device’s settings.
How to Check Apple Pencil Battery Charging Status?
Monitoring the charging process of the first-generation Apple Pencil is unfortunately not feasible.
However, there are two ways to check the battery health of the Apple Pencil 2.
Swipe right to bring up the Today view, and a pen icon will appear in the Batteries area.
A charging Apple Pencil shows a battery symbol with a lightning bolt in this location.
Alternatively, add the Batteries widget to your Home screen by going to the Today view, selecting Edit, and then selecting the Batteries widget.
To ensure visibility, activate Bluetooth. With Bluetooth turned on, you can track the battery level in both versions using the Batteries widget.
Furthermore, you can view the battery level of the second-generation Pencil when it’s magnetically linked to your iPad or within the Settings menu under Apple Pencil.
Final Thoughts
So there you have it, information on using your Apple Pencil to power your creative side! We’ve covered the first and second generations, so you will know about charging.
Now you can sketch, write, and create without missing a beat! 🎨📝✨
Frequently Asked Questions
Q. Should You Leave Your Apple Pencil Charging Overnight?
Ans. Yes, leaving your Pencil docked with your iPad for a lengthy period is safe – it is encouraged.
When not in use, a second-generation Apple Pencil should be docked with the iPad to ensure the tiny internal battery is adequately charged.
Q. Can the Apple Pencil Be Overcharged?
Ans. However, the battery symbol on the widget’s indicator does not update to reflect this.
The Apple Pencil is not capable of being overcharged. It will charge to 100% before shutting down.


