Technology
Cannot Verify Server Identity? Here’s How to Fix It in Minutes
Tired of the “cannot verify server identity” message popping up? This quick guide shows you how to fix it step-by-step — no tech skills needed!⚠️

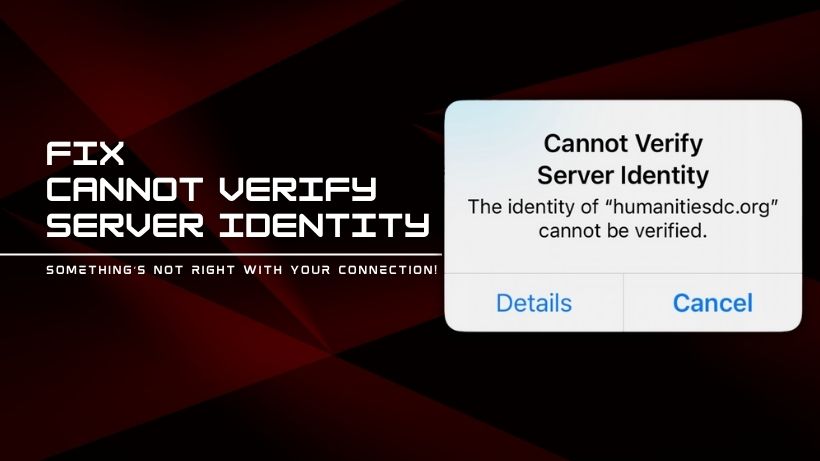
You grab your iPhone, open your Mail app, and instead of seeing your emails, you get a frustrating pop-up: “Cannot Verify Server Identity.”
Not exactly the kind of surprise you want when you’re trying to get through your day.
This issue tends to hit iPhones and iPads the most and usually shows up when your device can’t confirm that the mail server it’s connecting to is trustworthy.
The result? Blocked email access and a whole lot of confusion. While it may sound technical, the good news is that it’s usually something you can fix yourself—fast.
Let’s walk through what it really means and how to get rid of the error for good.
What Does ‘Cannot Verify Server Identity’ Actually Mean?
At its core, this error is all about trust. Your iPhone verifies the server’s SSL certificate to make sure it is legitimate and safe before connecting to an email server.
iOS won’t accept the connection if the certificate isn’t provided by a reliable source, has expired, or doesn’t match the domain name.
“Hey, I don’t recognize this server,” is what your iPhone is saying. I can’t be certain if it’s secure.
What Causes the ‘Cannot Verify Server Identity’ Error?
There are a handful of reasons why this :
- Expired or misconfigured SSL certificates from your email provider.
- Incorrect date and time on your device.
- A malfunction in iOS or a problem in the Mail app.
- Outdated software that can’t handle newer security protocols.
- Unstable or misconfigured networks (yes, even your Wi-Fi can be the culprit).
- Installed VPNs or subscribed calendars that interfere with the server’s verification process.
Quick Fixes You Should Try First
Let’s start with the easy stuff:
1. Restart the Mail App
- Swipe up from the bottom of your screen (or double-click the home button if your iPhone has one).
- Find the Mail app, then swipe up to end it.
- Reopen it. Sometimes, a quick refresh is all it takes.
2. Reboot Your iPhone

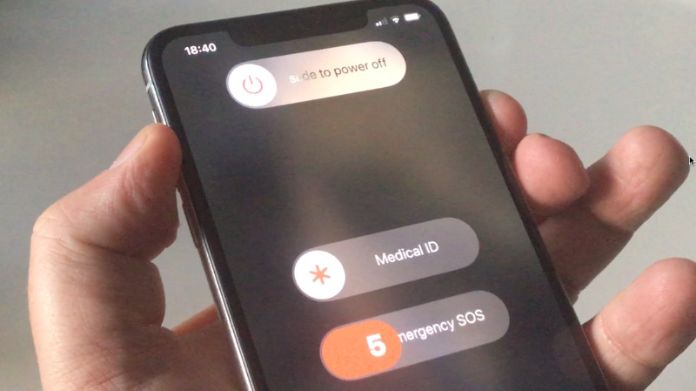
- On iPhones with Face ID: Press and hold the side button + volume button until you see the slider.
- On older models: Press and hold the power button.
- Slide to power off, wait a few seconds, and turn it back on.
Dive Deeper: Advanced Fixes for Persistent Issues
1. Check and Correct Date & Time Settings
- Head to Settings > General > Date & Time.
- Turn on Set Automatically. Your device relies on accurate time to validate certificates.
2. Update iOS and Carrier Settings

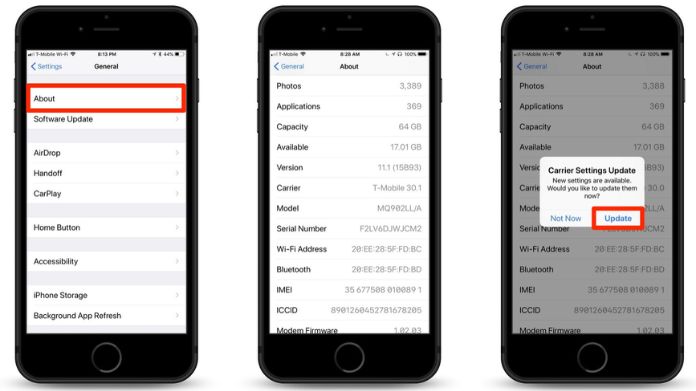
- Go to Settings > General > Software Update and install the latest version.
- Also, check Settings > General > About to see if any carrier updates are available.
3. Delete and Re-add Your Email Account
- Navigate to Settings > Mail > Accounts.
- Select the account showing the error and tap Delete Account.
- Re-add it using the correct settings provided by your email provider.
Network-Related Fixes
1. Reset Network Settings

If you suspect your network is causing the issue:
- Go to Settings > General > Transfer or Reset iPhone > Reset > Reset Network Settings.
- This clears Wi-Fi, VPN, and other settings but won’t delete your data.
2. Use a Secure Network
Avoid public Wi-Fi when checking emails. If you’re on one, try switching to mobile data or a private, secure network.
Certificate and Profile Adjustments
1. Enable Trust for Root Certificates

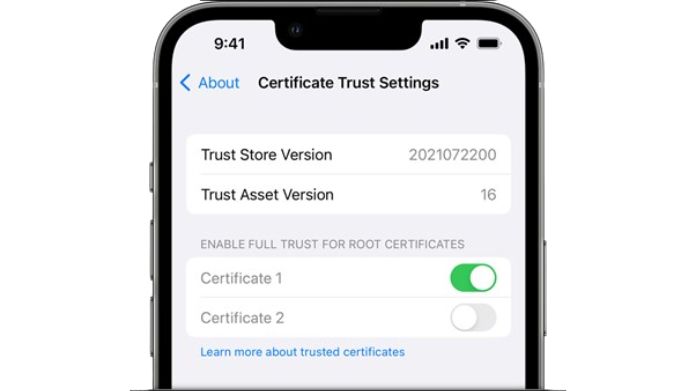
- Visit Settings > General > About > Certificate Trust Settings.
- Enable full trust for your email provider’s root certificate if available.
2. Remove Problematic Profiles
- Go to Settings > General > VPN & Device Management.
- Delete unknown or outdated profiles that could be messing with your network or email.
Use iOS Repair Tools (Optional But Effective)
PhoneRescue for iOS, for example, may resolve persistent iOS system faults without causing data loss. If you’re still stuck and none of the above has helped, this could be worth a go.
Remember that third-party tools should always originate from reliable sources.
Last Resort: Factory Reset Your iPhone
If all else fails, a factory reset may be your only option:
- Back up everything using iCloud or iTunes.
- Go to Settings > General > Transfer or Reset iPhone > Erase All Content and Settings.
- Set up your iPhone again and re-add your accounts.
This is extreme, but it guarantees a clean slate.
When to Call in the Pros
Still, seeing that error? It might not be your device at all. Contact:
- Apple Support if you suspect a system bug.
- Your email provider to make sure their server settings and certificates are up to date.
Our Thoughts
The “Cannot Verify Server Identity” error might feel like a dead end, but in reality, it’s usually just your iPhone being overly cautious. And that’s a good thing.
Start with the basics, work your way up, and you’ll likely fix it without ever needing tech support. With just a few taps, you can get back to your emails—and your day—with peace of mind.


